Heater Not Working? Try These Simple Steps
As winter approaches and temperatures plummet, a heater that is not working properly becomes a big cause for concern. With so many possibilities, diagnosing the root of the problem can feel impossible. Yet, with Christmas festivities looming, the idea of buying a brand-new heater isn’t a desired one. So, we have created this troubleshooting guide so you can find and fix your heating issue in no time, for a consistent and comfortable source of warmth this winter.
To make things even easier, we have split our guide into two sections. If your heater is starting up fine but often misfires mid-operation with smoke occurring, we recommend skipping to the second section. Alternatively, if your motor simply won’t start, the first section details possible explanations.
The Heater Will Not Start (No Ignition)
Electrical malfunction is the usual suspect when a piece of modern equipment isn’t working. Checking cables and electrical elements is a smart place to start before diving into more complicated troubleshooting areas.
Check The Power Supply
Though it seems almost too obvious, it’s worth unplugging the heater and trying it in different sockets or circuits, to rule out a power source issue from the beginning. It is also wise to check for damage to the wires and rips in the casing as this may be preventing the heater from receiving power.
If you are using an extension cable, be aware of how continuous usage can wear away its ability to deliver sufficient current. So, if you are using an extension cable or transformer, your heater may not be receiving enough power to ignite. Try swapping your extension cable for a newer one, or simply plug the heater directly into the mains to rule out a cable or transformer issue.
Check The Thermostat & Reset If Necessary
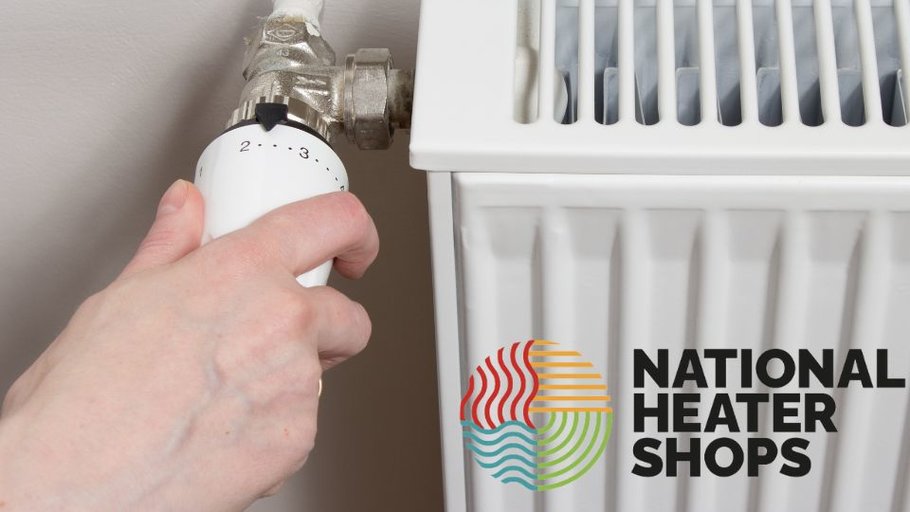
A faulty thermostat can have a lot to answer for in terms of heating performance. If your heater isn’t responding, it may be because the thermostat dial is set incorrectly. Ensure it hasn’t been knocked and adjusted and is set correctly.
If your heater contains an integrated display screen, check that it displays “heat” mode instead of “off” or “cool". Make sure your thermostat plug or thermostat plug cap is in good condition and is properly seated within the socket. Remote thermostats contain small inset metal prongs to complete the circuit and enable the heater to start. If the prongs are damaged, missing or improperly inserted, then the heater will be unable to work.
Sometimes, whilst using a programmable timer function, minor glitches can occur resulting in a lack of heating when you need it most. A simple recalibration is easily possible by resetting the thermostat and timer. Follow the manufacturer’s instructions for resetting the thermostat.
Check The Correct Voltage Is Used (Applies To Dual Voltage Only)
Dual voltage units are compatible with 110v or 240v supply, but on most heating units there is a switch to change the voltage on the side. Plugging your heater into the wrong voltage can cause the control box to fail, requiring a full replacement. Refer to your manual for more information on dual voltage.
The Heater Starts but Malfunctions, Misfires or Smoke Occurs
Check Airflow
Something as basic as positioning your space heater too close to a wall may be the simple answer and solution for fixing your faulty heater. Any appliance with air ducts requires sufficient airflow to function properly. Checking the position of your heater and ensuring there is enough room for a steady supply of air may be the quick fix to your heating hitch.
Similarly, checking air filters, inlets and outlets are essential. Naturally, air filters will accumulate any form of debris, such as dust and pet dander, which will critically restrict airflow. We insist that you check and clean all air inlets, outlets and filters, along with the combustion air flap setting and burner disc. This simple step can significantly improve your heater’s efficiency.
Clogged filters can impact heating performance and shorten the lifespan of your appliance if left untreated. Routinely cleaning filters once a month will avoid such residue build up.
Check Fuel
Contaminated fuel is an often overlooked cause of a faulty heater. For any fuelled appliance to perform, it needs a reliable, pure fuel supply. When fuel is exposed to the elements, all sorts of dirt, debris and even other fuel sources can pollute the supply. We recommend draining the tank and refilling with fresh, clean fuel.
It is also worthwhile checking the fuel nozzles, as they are liable to corrosion and blockages over time, stopping fuel from flowing freely into the burner. You can replace these nozzles as part of a service.
Check Filters
Your heater should have a small plastic filter bowl containing a filter inside. This should be approximately 1/3rd to ½ full. If it is empty, this indicates that fuel is not pumping through to the burner, or there is a leakage. In this case, you should seek advice from a HVAC specialist or engineer. Look out for visible damage and cracks in the housing, as this may be how air, water and other debris is being drawn into the system, causing the appliance to malfunction. Conversely, a full bowl hints that there may be a blockage further up the fuel lines, or in the nozzles - as previously discussed.
Check Flue and Ducting (Indirect Only)
All indirect-fired heaters need a flue or rain cowl to successfully operate as this regulates air entering the combustion chamber, prevents backdrafts, and protects against excess water ingress into the heater. The flue should be situated so that any ventilation holes at the spigot end of the outlet are exposed to allow the correct amount of air to enter the unit.
Avoid sharp bends in your ducting, as this can trap excess heat within the bends, which can cause overheating and smoke production. Ducting must be heat-treated and correctly situated, at the exact length and diameter in accordance with the manufacturer’s specs, to avoid invalidating the warranty.
Check Internal Components
Where has your heater been stored? Has it been stored in a clean, dry space? It’s always important to consider how environmental factors can play a huge role in a malfunctioning heater. If your heater has been sitting dormant for a lengthy period, it may be overdue for maintenance and servicing. Plus, exposure to the elements may have caused internal elements to fail and even corrode due to water or frost damage. The main components we recommend checking are:
Electrodes: The electrodes are responsible for providing the spark to ignite the burner. If the gap between the electrodes is too small or large, this may result in a misfire. Or, if there is visible damage or corrosion, then a replacement of the electrodes is the best chance of rectifying your misfiring heater.
Photocell: The photocell is the component that reads the spark from the electrodes. If damaged or dirty, no spark can be read and consequently no ignition can take place. You can easily clean or replace this part if damage is suspected.
H.T Leads: H.T leads connect the electrodes and transformers. If these are loose or damaged, this can cause the heater to work sporadically, which is responsible for frequent operation cut outs.
Any internal element may be the silent saboteur which is preventing your heater from fully functioning. Simply cleaning these individual parts may suffice and solve your heating issue. Some components may require professional help to service and clean. In the worst-case scenario, a full replacement of the damaged elements will be necessary.
Conclusion
Hopefully, through following our troubleshooting guide you will be able to successfully spot and fix what is causing the hitch in your heater. If you have exhausted all troubleshooting options and the problem persists, it's time to consult a HVAC professional or an engineer for the next steps.
Moving forward, we suggest frequent cleaning of your heating appliance – aim for once a month to avoid future malfunctions and breakages. These quick and easy checks will save you hassle in the long term and ensure the efficiency and longevity of your space heating solution.

