


How to Balance a Radiator
Date: 21 August 2022
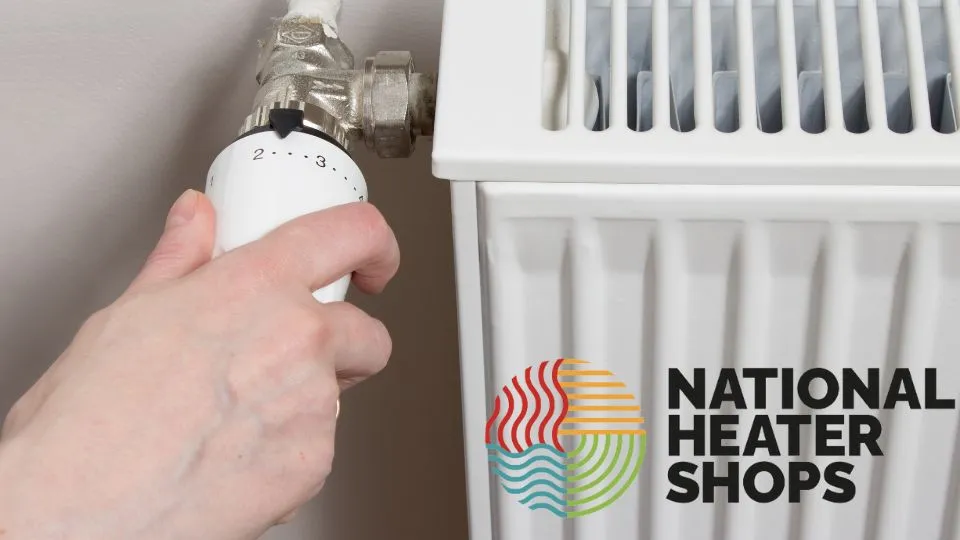
When balanced correctly, every radiator heats up at roughly the same rate and maintains a consistent temperature drop between its inlet and outlet pipes, typically around 12°C on standard UK gas condensing boilers.
Balancing regulates water flow resistance across your pipework rather than removing trapped air. Plan on setting aside 90 minutes to 3 hours for a typical three-bedroom UK house, as you must allow the system to cool completely before mapping warm-up speeds and measuring pipe temperatures.
Why Do Radiators Heat Unevenly Across a Home?
Water pumped through a domestic central heating loop naturally follows the path of least resistance. Understanding hydraulic resistance and valve roles prevents you from adjusting the wrong controls or chasing phantom faults.
How Does Pump Pressure Affect Radiator Flow Rates?
When your boiler's circulation pump pushes heated water into the primary flow pipe, the radiators closest to the pump, usually downstairs in the hallway or kitchen, experience the highest differential pressure and shortest pipe runs. Without flow restriction, hot water rushes rapidly through these nearby radiators and returns straight to the boiler, starving upstairs bedrooms or rear extensions of adequate flow.
What Is the Difference Between Balancing and Bleeding a Radiator?
Homeowners frequently confuse bleeding with balancing, yet each solves a completely separate hydraulic problem:
Troubleshooting Factor | Bleeding a Radiator | Balancing a Radiator System |
Root Physical Cause | Trapped air pockets inside the top of individual radiators | Unequal hydraulic water flow across the whole pipework circuit |
Classic Symptom | Radiator is hot at the bottom but cold across the top section | Nearest radiators scorch hot quickly while furthest radiators stay lukewarm |
Valve Adjusted | Square bleed screw located at the top corner of the radiator | Lockshield valve at the bottom return pipe (beneath a plastic cap) |
System State During Work | Heating switched OFF and pump stationary to avoid drawing air in | Heating switched ON with pump circulating hot water normally |
Scope of Task | Quick 5-minute maintenance on affected radiators | Full-house calibration taking 1.5 to 3 hours across all radiators |
If a radiator is cold at the top and warm at the bottom, bleed the trapped air first before attempting any balancing adjustments.
Which Radiator Valve Controls Flow During Balancing?
Every UK domestic radiator features two bottom valves, one on the flow pipe (where hot water enters) and one on the return pipe (where cooled water exits). Identifying which valve to turn is critical:
Thermostatic Radiator Valve (TRV) or Manual Wheelhead Valve: Mounted on the flow pipe, featuring a numbered dial (typically 1 to 5 or *) or a rotating plastic handwheel. This valve regulates room air temperature for daily user comfort. Open all TRVs and wheelhead valves fully before balancing so they do not throttle water flow prematurely.
Lockshield Valve: Mounted on the opposite return pipe, covered by a smooth plastic cap (often secured with a small top screw). Beneath the cap sits a flat-sided brass spindle. This is the only valve you adjust during balancing because once set, replacing the cap prevents household occupants from accidentally altering your hydraulic calibration.
What Tools Do You Need to Balance Radiators?
Gather these basic tools before switching your heating system off so you do not lose thermal equilibrium mid-test:
Lockshield valve key or small adjustable spanner: Fits the flat brass spindle under the plastic lockshield cap (avoid using pliers, which chew up soft brass edges).
Radiator bleed key: Opens the top bleed nipple to purge trapped air before testing begins.
Crosshead or flat-blade screwdriver: Removes the small retaining screw securing certain plastic lockshield caps.
Digital pipe thermometer, clamp-on thermocouple, or infrared thermometer: Measures exact surface temperatures on the flow and return copper pipes (optional, though far more accurate than judging by hand).
Notebook and pen: Records the exact order radiators heat up and tracks quarter-turn adjustments on every valve.
How Do You Balance Radiators Step by Step?
Executing a methodical balancing sequence ensures every room warms predictably without causing boiler short-cycling. Follow these seven steps in order.
Step 1: Prepare the System and Purge Trapped Air
Switch your central heating and hot water timer completely OFF and wait 60 to 90 minutes until every radiator and exposed copper pipe feels cold to the touch. Starting from a uniform cold baseline is essential so you can observe true warm-up speeds.
While the system is cold and the pump is stationary, check every radiator for trapped air using your radiator bleed key.
Check your boiler's pressure gauge after bleeding; top up the filling loop to 1.0 to 1.5 bar (cold system pressure) if pressure dropped during air purging.
Remove the plastic caps from every lockshield valve across the house and set them aside safely.
Turn every TRV and manual wheelhead valve fully anti-clockwise to its maximum open setting (typically position 5 or 6).
Step 2: Open All Lockshield Valves and Map the Warm-Up Order
Turn every lockshield valve spindle fully anti-clockwise until it stops, counting the exact number of turns so you know its full range. Opening every valve completely establishes an unrestricted baseline.
Switch your heating ON and turn the main wall room thermostat up to 25°C–30°C so the boiler fires continuously without cutting out early. Walk briskly from room to room, touching the inlet pipe on each radiator, recording the exact order in which they begin to warm up (1 = fastest radiator to warm, last number = slowest radiator).
Step 3: Cool the System and Set Initial Lockshield Positions
Once you have mapped the complete warm-up order, switch the heating OFF again and let the radiators cool down for at least 45 to 60 minutes.
Next, turn every lockshield valve fully clockwise until closed (do not over-tighten, as forcing the brass seat damages the internal washer). Apply graduated initial openings based on your warm-up map:
Slowest radiator (furthest from pump): Open the lockshield valve 100% fully anti-clockwise (typically 2.5 to 3.5 full turns) to give it maximum unrestricted flow.
Second slowest radiator: Open 2 full turns anti-clockwise.
Mid-circuit radiators: Open 1 to 1.5 turns anti-clockwise.
Fastest radiators (closest to boiler/pump): Open only 0.25 to 0.5 turns (a quarter to half turn) anti-clockwise to create deliberate resistance.
Step 4: Measure Flow and Return Temperatures with a Thermometer
Turn the heating back ON with the room thermostat set high, and wait 15 to 20 minutes for water circulation to stabilise. Starting with the fastest radiator closest to the boiler, measure the pipe temperatures just below each bottom valve:
Measure the temperature on the flow pipe (inlet side, which warms first).
Measure the temperature on the return pipe (lockshield outlet side).
Subtract the return temperature from the flow temperature to find your temperature differential (ΔT).
Manufacturers such as Worcester Bosch, Vaillant, and Ideal Heating commonly design standard UK gas condensing boiler circuits around a 12°C temperature differential (for example, 70°C flow and 58°C return), though modern low-temperature systems and heat-pump-ready circuits may specify a 5°C to 10°C differential. Always check your boiler installation manual for your system's intended design differential.
Step 5: Make Gradual Adjustments and Record Every Turn
Lockshield valves are sensitive, turning a spindle by just an eighth of a turn changes flow rate noticeably. After making a small clockwise or anti-clockwise tweak on radiator one, wait 5 minutes for pipe temperatures to settle before taking a second reading, then move to the next radiator in your warm-up order.
Step 6: How Do You Balance Radiators Without a Thermometer?
If you do not own a digital pipe thermometer, you can still achieve a practical manual balance using timed touch comparison:
Start from a cold system with your graduated initial openings set from Step 3, and switch the heating ON.
Grip the flow pipe and return pipe briefly (wear thin cotton work gloves to protect fingers from hot copper) on the nearest radiator. The flow pipe should feel noticeably hotter than the return pipe.
If both pipes feel equally scorching hot within minutes, close the lockshield valve clockwise in 1/8-turn increments until the return pipe feels distinctly cooler than the flow pipe.
Walk to the furthest upstairs radiator and verify that its flow pipe now heats steadily and the whole panel warms evenly from top to bottom.
Step 7: Restore TRV Settings and Refit Lockshield Caps
Once every radiator shows a consistent temperature differential and heats evenly across your home, refit the plastic caps over all lockshield spindles so children or guests cannot alter them. Turn your TRVs back to your preferred room comfort settings (typically position 3 or 4, equating to roughly 19°C–21°C) and return your main wall thermostat to its normal schedule.
If you are upgrading outdated panels or adding supplemental warmth to cold extensions, explore our electric radiators and central heating solutions and wider home heating solutions designed for UK properties.
When Should You Rebalance Your Central Heating System?
Hydraulic resistance across your pipework changes whenever components are added, removed, or cleaned. Rebalance your radiators after any of these events:
Replacing an existing radiator with a larger, smaller, or designer vertical model that alters internal water volume and pressure drop.
Adding a new radiator to a loft conversion, conservatory, or rear extension.
Powerflushing or chemical system cleaning, which clears magnetite sludge blockages and restores full bore flow to previously restricted pipes.
Replacing a circulation pump or boiler, as higher or lower pump head settings alter flow velocities across every branch.
What Mistakes and Faults Prevent Radiators from Balancing?
Even careful valve adjustments fail if underlying mechanical blockages or setup errors go unnoticed. Watch for these common failure modes:
Closing all lockshield valves too tightly: Starving too many radiators restricts total water flow back through the boiler, causing the boiler heat exchanger to overheat, trip its high-limit cutout, or cycle on and off rapidly (short-cycling). Always keep the furthest radiator's lockshield valve wide open.
Stuck TRV valve pins: On older thermostatic valves, the small metal pin beneath the plastic sensor head can seize in the closed position over summer. Unscrew the TRV head and check that the pin presses down smoothly and springs back up before adjusting the lockshield.
Magnetite sludge accumulation: If a radiator stays cold across the bottom centre while hot at the top and sides, black iron oxide sludge has settled inside the lower waterways. Valve balancing cannot clear physical sludge; the radiator needs flushing or chemical treatment.
Using cheap infrared thermometers on shiny unpainted copper: Bare, polished copper pipe reflects infrared radiation, causing non-contact IR thermometers to display wildly inaccurate low readings. Stick a strip of matte black electrical tape onto each copper pipe and aim your IR thermometer at the tape for accurate readings.
When Should You Contact a Qualified Heating Engineer?
Stop DIY adjustments and call a Gas Safe registered engineer or qualified heating specialist if you encounter any of these warning signs:
Radiators remain completely cold despite both valves being open and all air bled out (indicating a seized circulation pump, blocked primary pipework, or faulty diverter valve).
The boiler displays fault codes, makes loud kettling/banging noises, or loses system pressure repeatedly after topping up.
A lockshield valve spindle weeps water around its gland nut when turned.
For advice on selecting supplemental heaters or replacement equipment, browse our full catalogue of heating equipment for domestic and commercial properties.
What Should You Check Before Finishing Your Radiator Balance?
Run through this final verification checklist before packing away your tools:
Air purged completely: Bled all radiators while cold and verified boiler pressure sits cleanly between 1.0 and 1.5 bar.
Furthest radiator fully open: Confirmed the lockshield valve on the slowest radiator remains 100% open to maintain safe minimum boiler flow.
Temperature differential consistent: Verified every radiator shows a balanced temperature drop between flow and return pipes (around 12°C on standard gas boilers, or per manufacturer specs).
Even warm-up confirmed: Checked that upstairs and downstairs radiators warm up within a few minutes of each other from a cold start.
Adjustments logged: Recorded final quarter-turn lockshield positions in your home maintenance notebook for future reference.
Caps and TRVs restored: Replaced all protective plastic lockshield caps and returned TRV dials and the main room thermostat to normal daily settings.
Frequently Asked Questions About Balancing Radiators
How much should a lockshield valve be open?
There is no single universal setting for every lockshield valve because opening distance depends on each radiator's distance from the boiler pump. Typically, the radiator furthest from the boiler should have its lockshield valve 100% open (roughly 2.5 to 3.5 full turns anti-clockwise), mid-circuit radiators sit around 1 to 1.5 turns open, and the closest radiators near the boiler may only need 0.25 to 0.5 turns open.
Should you balance radiators with the heating on or off?
You need the heating OFF during initial preparation (bleeding air, letting pipes cool completely, and setting baseline valve turns), and then switched ON with the room thermostat turned high while you observe warm-up order, measure flow and return pipe temperatures, and make fine quarter-turn lockshield adjustments.
Why is my radiator still cold at the bottom after balancing?
A radiator that stays cold in a semi-circular patch across the bottom middle while hot at the top and edges is usually blocked by magnetite sludge (rust and debris) rather than an unbalanced valve. Balancing only regulates water flow rate between radiators; clearing internal sludge requires draining and flushing the affected radiator or having a heating engineer flush the system.
Does balancing radiators save money on heating bills?
Balanced radiators help your boiler reach target room temperatures faster and prevent overheating rooms closest to the boiler while waiting for distant bedrooms to warm up. While actual bill reductions vary by property insulation and boiler type, eliminating short-cycling and keeping return water temperatures within your condensing boiler's optimal condensing range improves overall system efficiency.